
Skylight Flashing – The First Line of Defense Against Water Leaks
Skylight Flashing is the first line of defense against water leaks that can affect your roof and skylight. It’s also a simple DIY project that can save you big money in the long run by avoiding costly repairs or replacements. We are Pro Home Construction. Thank you for visiting our blog. Please contact us if you have any questions on the below content.
When installed properly, flashing is a leak-proof seal that prevents water from seeping in under your roof’s shingles and siding. It also helps protect your windows and skylight from rain and snow.
What is a Skylight Flashing?
Skylight flashing is an important part of a roof’s overall weatherproofing scheme. Besides helping to keep your roof cool and dry, it can also protect your home from structural damage caused by water infiltration.
How Do You Seal Flashing Around a Skylight?
If you have a skylight in your home, it’s important to keep it watertight. This will protect the interior of your home from the harsh elements and help prevent costly damage.
When the flashing around a skylight is not installed correctly, rain can seep into your home and cause serious damage to your ceilings, wood floors, furniture, and other objects that it drips onto. Luckily, it’s not difficult to fix leaks.
Step 1
First, make sure the skylight is properly framed-in between rafters by cross-blocking with 2x lumber of the same depth as the rafters. This is a common practice for all roof elements, and it’s necessary for a skylight to be correctly fitted in order for it to function properly.
Step 2
Next, check the skylight’s rubber gasket around the frame to ensure it is sealed. If it isn’t, the leak is probably coming from somewhere else.
Step 3
Finally, check the glass for signs of cracks or other problems. This is often caused by wind, rain, and other inclement weather, so it’s important to get a professional evaluation of your skylight as soon as you notice a problem.
Leaking Skylight
A leaking skylight can be an expensive and frustrating problem. However, it’s worth the effort to fix any leaks that you may find. It’s also a good idea to do regular maintenance on your skylight so that you can catch any issues before they become expensive and damaging.
What are the Parts of Skylight Flashing?
One of the most important parts of a flashing is the head and sill. These are the areas that receive the most water, so they need to be secure to prevent seepage into your home.
The head flashing is slipped under the shingles above the skylight, while the sill flashing is set over the shingles below it. Both of these flashings are designed to direct water away from the rafters and into your gutters.
Another common part of a flashing is a piece called a step. This is a rectangular piece that bends 90 degrees in the center. It’s often used for roof to wall flashing.
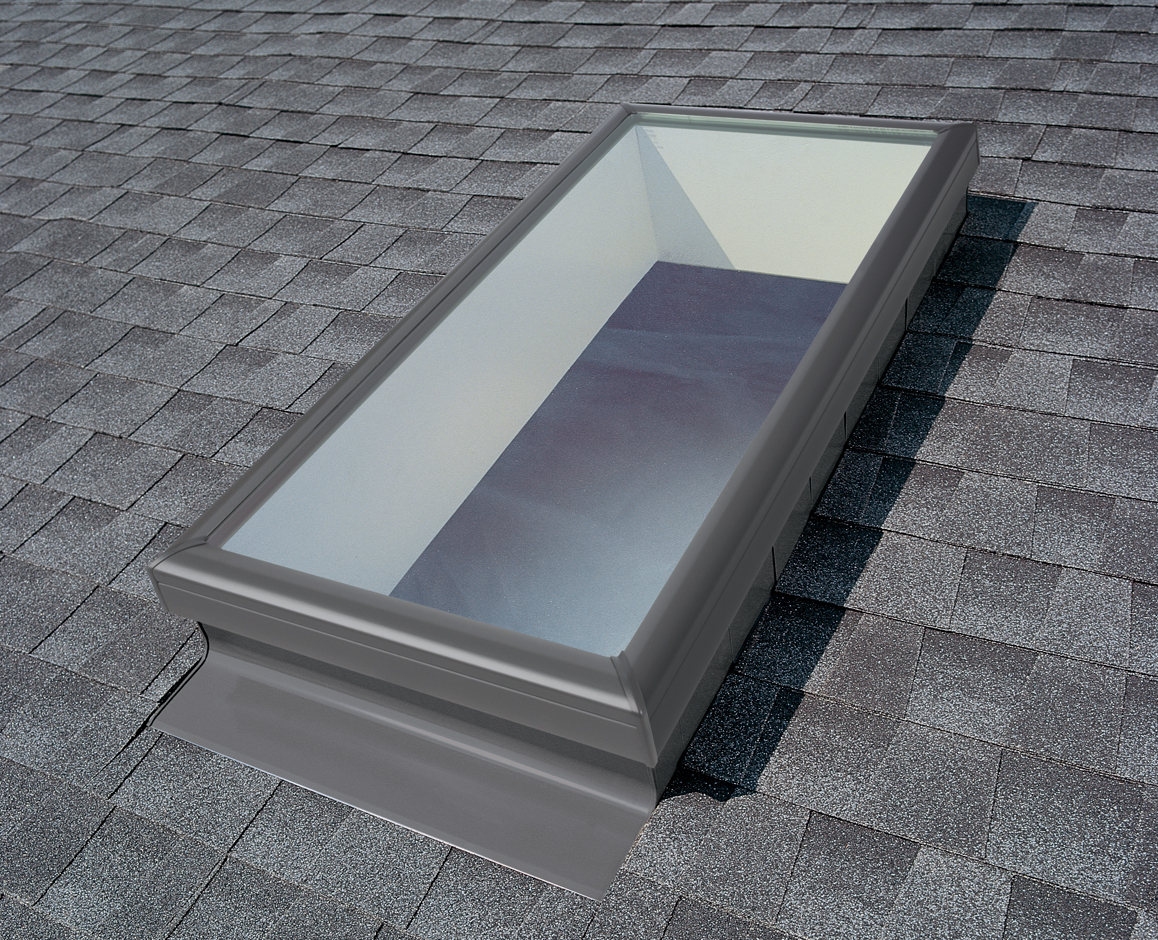
Velux Skylight Flashing
VELUX® offers an engineered step flashing system for shedding water without using sealants that will break down over time. It’s designed for roof pitches from 15 deg to 90 deg and includes a pitch adapter for those with roof slopes below 15. You can find more about this product on its page.
What is a Common Problem with Skylights?
Skylights are a popular home upgrade that allow natural light to fill rooms in a way not possible with windows. They are also a great energy saver and help you save on your utility bills.
However, like any home addition, they can come with some problems. For example:
- Skylight leaking can cause significant damage to the home
- Skylights condensation
- Mold and other moisture issues in the home
If your skylight is leaking, it may be time to replace it. Call Pro Home Construction to schedule a consultation with our roofing specialists to assess your roof and identify the source of the leak.
Improper Flashing Installation
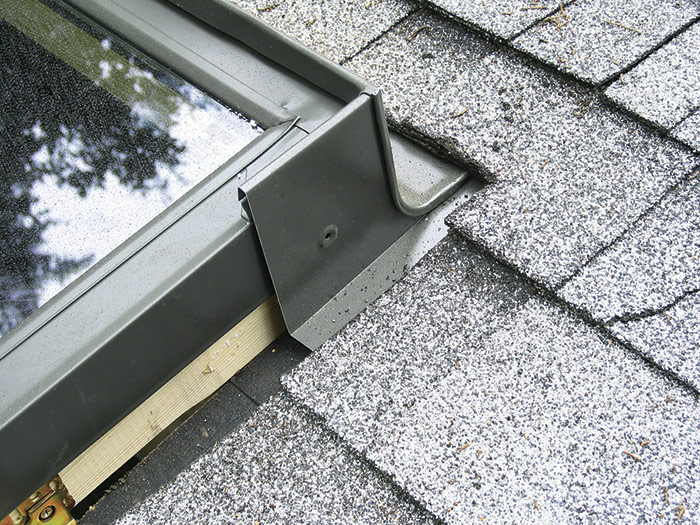
One of the most common reasons for a skylight to leak is because the flashing was improperly installed. Look for nails that were nailed too low along the bottom apron flashing, step flashing, or back pan.
In addition, a leaking skylight can create a lot of debris that can damage the roof. Debris can also interfere with the drainage system on the roof, causing more water to pool. This can be problematic if your skylight is in an area that gets a lot of rain.
How Do You Install Flashing for Skylights?
The flashing is designed to prevent water seepage and ensure that your skylight doesn’t leak, which can cause serious structural damage and health problems for you and your family. A professional roofing technician can make sure your skylight is leak-free and secure.
Step 1
To start, remove the old shingles from around your skylight. You may need to get a ladder to do this if you’re not familiar with using one. Mark screw markers on each side of the shingles to guide your work (see photo below).
Step 2
Once all the shingles are removed, use a circular saw to cut the roof opening at the ridge. This will leave an angled rectangle of shingle material that needs to be covered with a membrane strip.
Step 3
Next, install the apron flashing along the lower edge of the skylight. This will cover the shingles below it and create a barrier to prevent water from running off the roof and into the house.
Step 4
Install the step flashing over the apron and secure it to the roof with a nail at each top outside corner. Overlap the shingle that covers the step flashing with a new shingle, and repeat the process for both sides of the skylight.
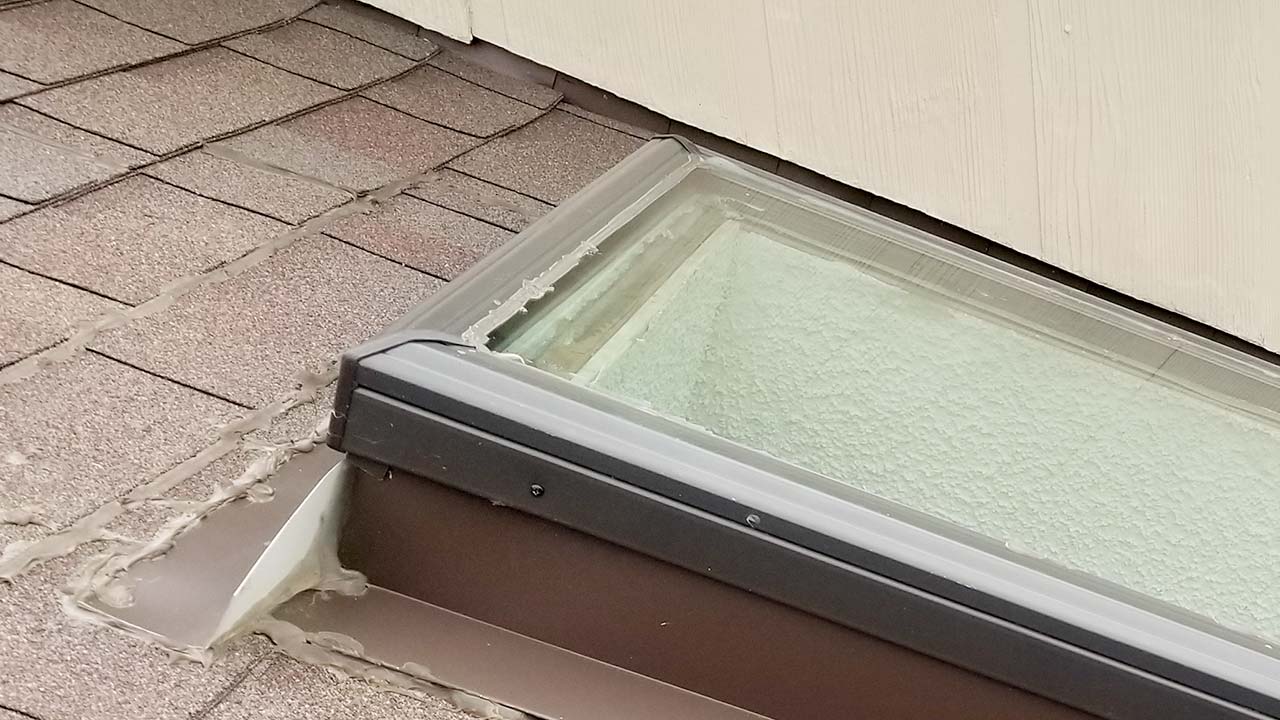
Should You Caulk Around a Skylight?
Using caulking around the skylight will keep the roof and skylight from leaking together. You can do this yourself if you have the right tools and supplies. But if you don’t, you should call in a professional.
Step 1
First, you need to make sure that the flashing is in good condition. If it is damaged, missing, or corroded, it can cause leaks.
Step 2
If there are any gaps between the flashing and the roofing material, you should fill them with roof cement. This will stop water from leaking through the gap and will likely prevent the problem from recurring.
Step 3
Second, you should check the glass of the skylight for any cracks or breaks. If there are any, you can use a clear silicone-based caulk to repair them.
Step 4
Finally, you should check the surrounding area for any signs of moisture, like stains. These are often caused by a leaky roof or shingles. If you notice any stains or other evidence of a leak, call in a professional to take a look. The last thing you want is to end up with an expensive water damage bill!